web实验报告
一, 相关技术
为实现注册和登录功能,首先采用JSP和HTML分别设计regist和login页面,再采用servlet技术实现这两项功能。
为实现上传文件至服务器和下载自己上传的文件,也先JSP和HTML设计页面,再在页面中设计两按钮,点击时用调用JSP实现上传和调用servlet实现下载。
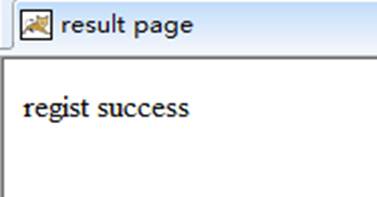
采用JSP和HTML设计result页面。是各种结果在result页面显示
二, 系统需求分析
为实现登录和注册。设计一个包,包中包含User类。User中有账号,密码,昵称三类属性。
设计登录页面,输入账号和密码实现登录。当输入信息正确时,显示成功,否则失败。
设计注册页面,输入账号,密码,昵称三属性实现注册。
设计上传和下载页面,点击相应按钮实现相应动作。
三, 系统设计和实验结果
1,显示结果页面核心代码
<% String message=(String)request.getAttribute("message"); %>
<%= message %>
2,注册相关代码
A,注册界面核心代码
<form method="post" action="Re">
<table >
<p><h2>输入信息<h2></p>
账号:
<input name="name" type="text" id="name">
密码:
<input name="pwd" type="password" id="pwd">
昵称:
<input name="call" type="text" id="call">
<input type="submit" value="注册">
</table>
</form>
B,实现注册的servlet核心代码
driverName="com.microsoft.sqlserver.jdbc.SQLServerDriver";
Class.forName(driverName);
String name = request.getParameter("name");
String pwd = request.getParameter("pwd");
String call = request.getParameter("call");
Connection con=null;
String dbURL="jdbc:sqlserver://localhost:1433;DatabaseName=student";
String userName="sa";
String userPwd="a693501";
con=DriverManager.getConnection(dbURL,userName,userPwd);
PreparedStatement ps = null;
String sql = "insert into admin (name,pwd,call)values(?,?,?)";
try{
ps = con.prepareStatement(sql);
ps.setString(1,name);
ps.setString(2, pwd);
ps.setString(3, call);
ps.executeUpdate();
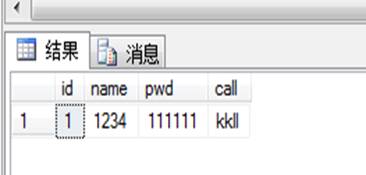
C,结果截图

3,登录相关代码
A,登录界面核心代码
请登录<br>
<form method="post" action="login">
<table >
<p>输入信息</p>
账号:
<input name="name" type="text" id="name" >
密码:
<input name="pwd" type="password" id="pwd">
<input type="submit" value="登录">
</table>
</form>
B,实现登录servlet核心代码
String driverName="com.microsoft.sqlserver.jdbc.SQLServerDriver";
Class.forName(driverName);
Connection con=null;
String dbURL="jdbc:sqlserver://localhost:1433;DatabaseName=student";
String userName="sa";
String userPwd="a693501"; con=DriverManager.getConnection(dbURL,userName,userPwd);
PreparedStatement ps = null;
ResultSet rs = null;
User user=new User();
String sql = "select * from admin where name=? and pwd=?";
ps = con.prepareStatement(sql);
ps.setString(1, name);
ps.setString(2, pwd);
rs = ps.executeQuery();
if (rs.next()) {
user.setName(rs.getString("name"));
user.setPwd(rs.getString("pwd"));
user.setCall(rs.getString("call"));
} else
{
user = null;
}
if(null==user)
{
request.setAttribute("message", "login fail");
request.getRequestDispatcher("/result.jsp").forward(request,
response);
}
else
{
request.setAttribute("message", "login success");
request.getRequestDispatcher("/result.jsp").forward(request,
response);
}
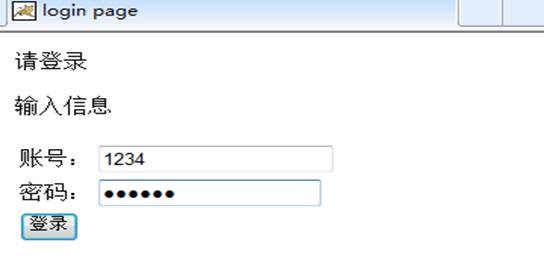
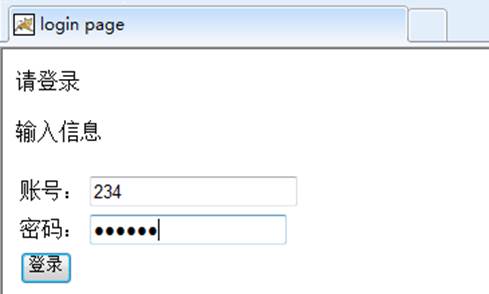
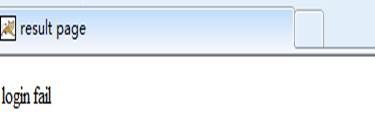
C,结果截图
1,成功时

2,失败时
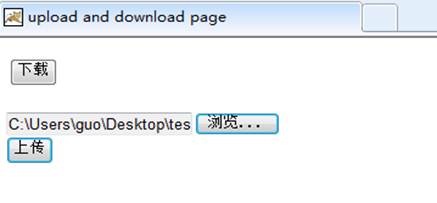
4,上传下载页面核心代码
<form method="post" action="LoadFile">
<input type="submit" value="下载">
</form>
<form action="accept.jsp" method="post" enctype="multipart/form-data">
<input type="file" name="file">
<input type="submit" name="submit" value="上传" >
</form>
截图

5,实现上传功能JSP核心代码
String tempFileName=(String)session.getId();
File temp=new File("e:/webup",tempFileName);
FileOutputStream o=new FileOutputStream(temp);
InputStream in=request.getInputStream();
byte b[]=newbyte[1024];
int n;
while((n=in.read(b))!=-1)
{
o.write(b,0,n);
}
o.close();
in.close();
RandomAccessFile random=new RandomAccessFile(temp,"r");
int second=1;
String secondLine=null;
截图

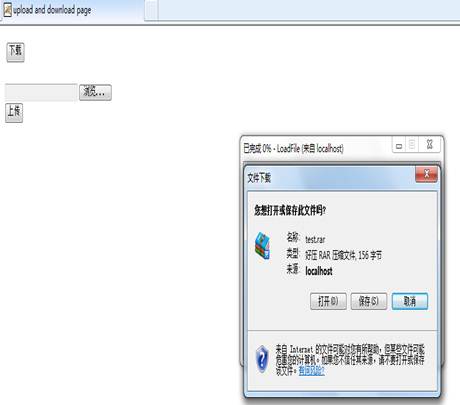
4,实现下载servlet核心代码
OutputStream o=response.getOutputStream();
byte b[]=newbyte[1024];
File fileLoad=new File("d:/down","test.rar");
response.setHeader("Content-disposition", "attachment;filename="+"test.rar");
response.setContentType("application/x-rar");
long fileLength=fileLoad.length();
String length=String.valueOf(fileLength);
response.setHeader("Content_Length", length);
FileInputStream in=new FileInputStream(fileLoad);
int n=0;
while((n=in.read(b))!=-1){
o.write(b,0,n);
}
}
截图
四, 心得体会
通过web实验,牢固了web课程中学习到的的许多知识点。在学习的过程中,对于各种实验情况的处理,对各种程序的运用,以及老师的讲解,同学的帮助终于成功的完成了web相关的实验。这些经验加深了对web的了解,并且大大加强了自己的实践能力,同时也对web产生了极大地兴趣。回顾了web设计的内容,并且通过对知识的综合运用,加深jsp,html等等web相关知识的认识,同时在此加深了对myeclipse使用的熟练程度。再次感受到了myeclipse的强大。
实验期间虽困难重重,但是通过不断地查询书籍,或者去网上寻找资料。终于使问题得到解决,通过web实验,让我受益很大,增加了程序设计和调试的实践经验,掌握了很多基础的东西,夯实了基础,为以后的web方向的发展打下了基础。
第二篇:Web技术应用实验报告
实验报告
班级: 姓名: 学号:


备注:
1、表头必须按此格式制作。
2、表头以下的栏目和内容,各系部可根据实验课程的具体需要和要求确定,表中所列内容仅供参考。该栏可以根据需要加页。
3、一门课程有多个实验项目的,应每一个实验项目一份。
-
web实验报告
一,相关技术为实现注册和登录功能,首先采用JSP和HTML分别设计regist和login页面,再采用servlet技术实现这两项…
-
Web实验报告
实验一HTML语言一实验目的1掌握常用的HTML语言标记2利用文本编辑器建立HTML文档制作简单网页二实验要求1独立完成实验2书写…
-
web网站设计实验报告
课程设计报告书20**/20**学年第1学期设计题目:Web网页制作实验报告年级专业:08级市场营销姓名学号:指导老师:经济管理系…
-
Web实验报告
课题:网页设计与制作专业:通信工程班级:学号:一.实验任务:设计制作一个《网页设计与制作》精品课程网站二.实验要求:(1)站点目录…
-
web网站实验报告
沈阳理工大学应用技术学院WEB程序设计课程项目教学论文报告题目新闻发布系统院系信息与控制学院专业计算机科学与技术班级学号10301…
-
Web实验报告
课题:网页设计与制作专业:通信工程班级:学号:一.实验任务:设计制作一个《网页设计与制作》精品课程网站二.实验要求:(1)站点目录…
-
web网站设计实验报告
课程设计报告书20**/20**学年第1学期设计题目:Web网页制作实验报告年级专业:08级市场营销姓名学号:指导老师:经济管理系…
-
Web网页设计实验报告
WEB系统开发综合实验报告题目红尘客栈网上订房页面专业计算机科学与技术信息技术及应用班级学生重庆交通大学20xx年目录一设计目的3…
-
web前端技术实验报告1
Web前端技术实验报告课程名称Web前端技术实验名称html网页设计系别班级计科系1302班学生姓名余洲杰学生学号20xx1002…
-
web实验报告
河南科技大学实验报告实验名称Web开发技术题目web开发环境的建立学院国际教育学院班级学号计算机131131425020xx9学生…
-
web心得体会
Web学习心得体会这学期接近尾声的一个月里我们又继续我们开学本就该学的《web应用与技术》。在开学初,刚开始的两节课里听老师的介绍…